Tutorial - The Map Screen Overview
Welcome to the first in a series of tutorials to deep dive into the Hunting Grounds app and its features.
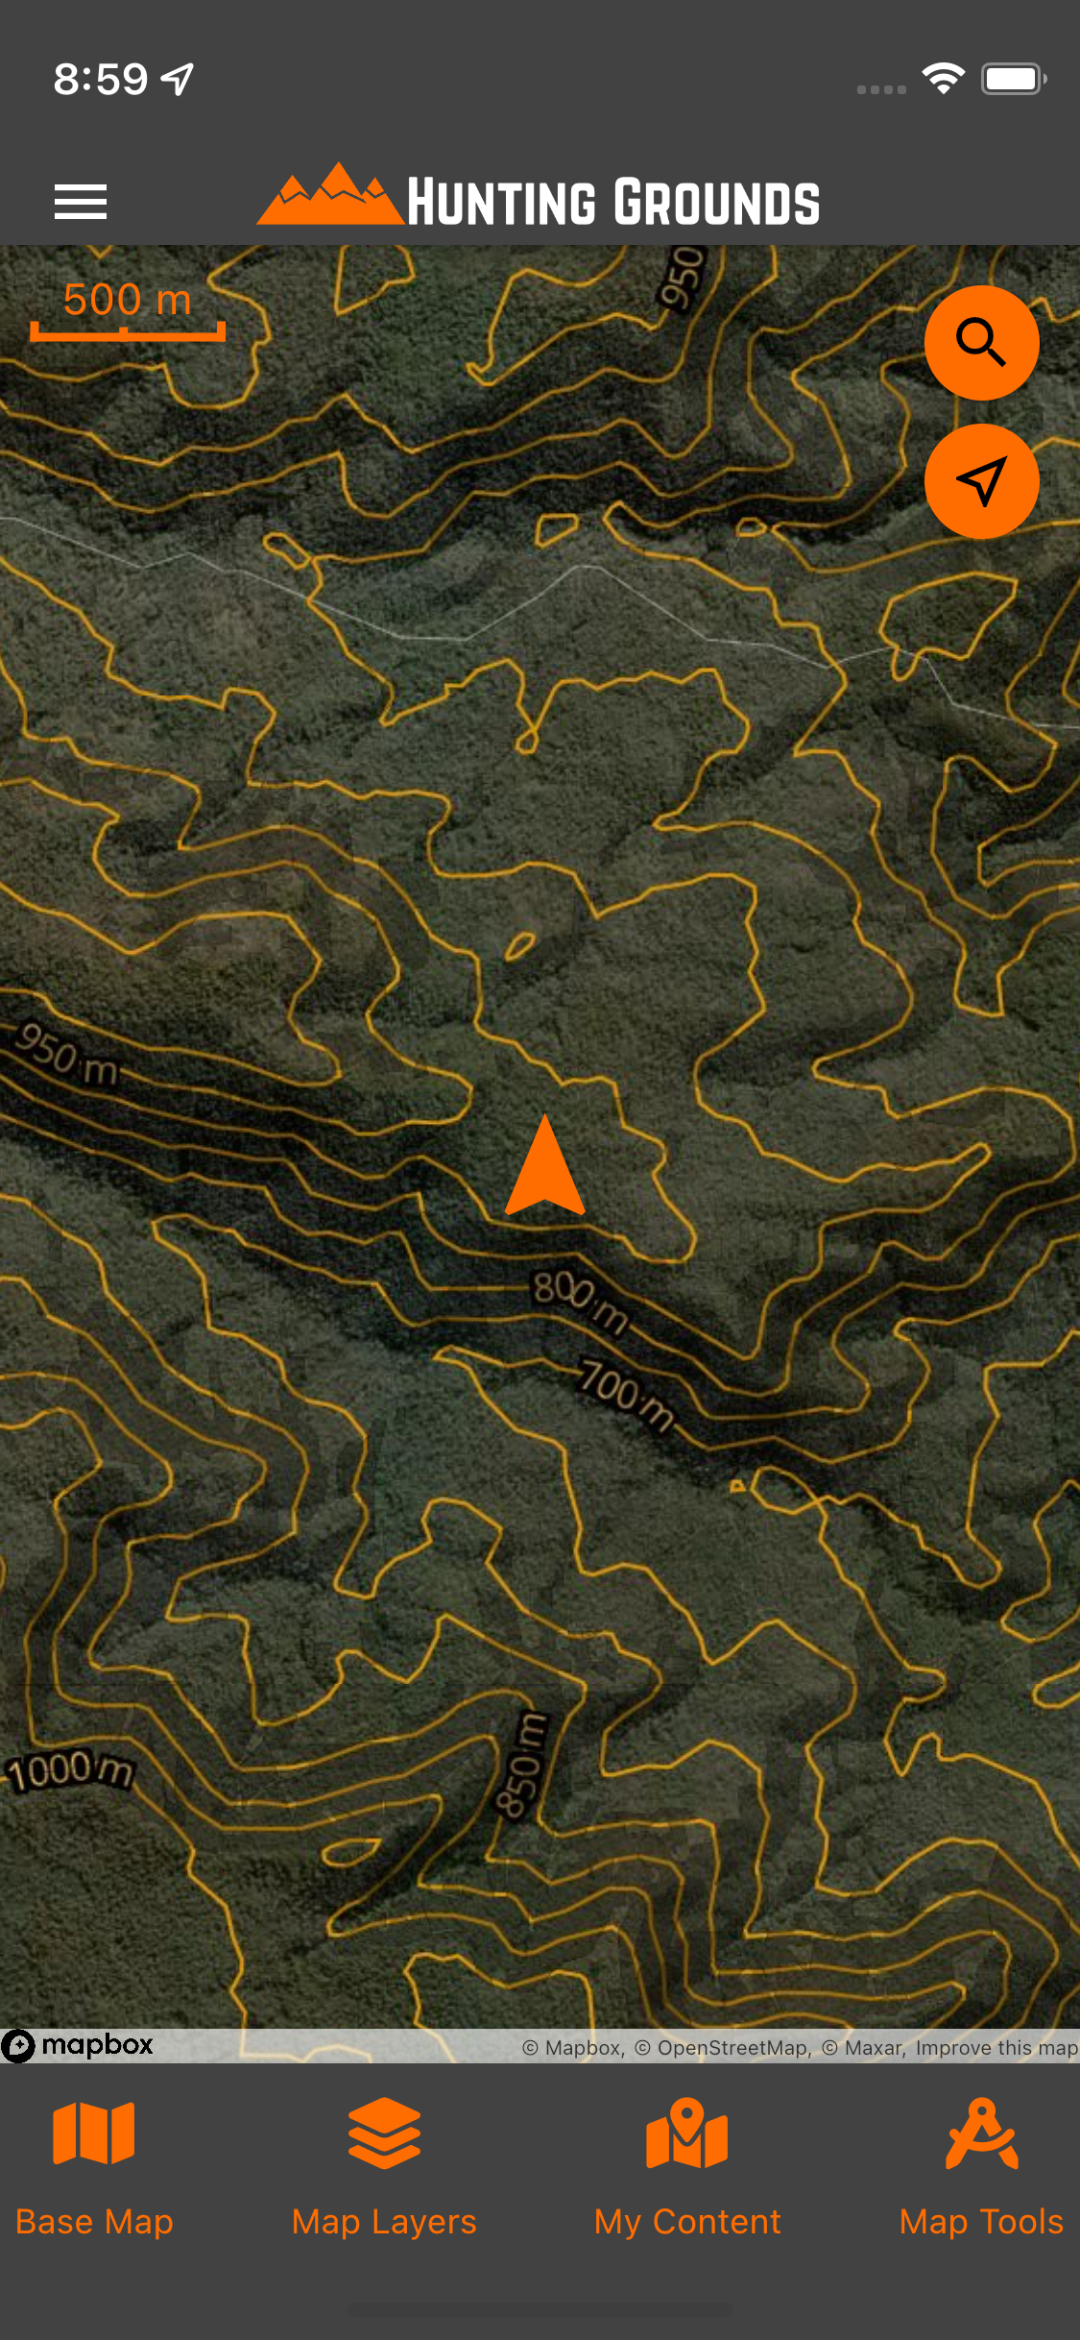
In this tutorial, we will be exploring the Map screen and all of its functions and features.
Controlling The Map
The Map screen can be controlled using the same input gestures as you would use in other mapping apps, such as Google or Apple Maps.
Zooming In
To zoom in, with two fingers close together, touch the screen and then slowly move your fingers apart whilst maintaining contact with the touch screen
Zooming Out
To zoom out, with two fingers spread apart, touch the screen, and then slowly bring your fingers together.
Panning
To pan the map, touch the map with one finger, and slowly move that finger around. You will see the map move with your finger
Rotating
To rotate the map, touch the map with two fingers, and move them in opposite directions to one another in a circle.
Your Position Marker
First things first, and arguably the most important feature of Hunting Grounds is your position marker:
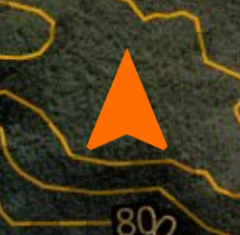
This Icon represents your current position and heading, in real time. As you move, the marker will change position on the map to represent your new position. As you spin, the marker will move to represent your new heading.
Distance Scale
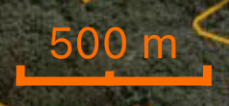
Next up is the distance scale. This gives you a relative measure of scale on the map. This will automatically scale as you zoom in and out. The distance is displayed in either meters or kilometres, depending on how far you are zoomed in or out.
Menu Button
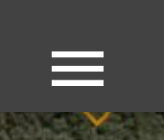
Tapping this button will expand the side menu. We will explore this menu in a later tutorial.
Search Button
Tapping this button will bring up the Hunting Grounds search feature, in the form of a search text field at the top of the map. You can use the Hunting Grounds search feature to search for addresses, places, and even user generated in-app content such as markers and shapes.
The Follow Me Button

Tapping this button once will move the map and centre it on your current position. Without user interruption, it will maintain the map centre on your current position, even as you move. You can tell if the "follow me" feature is active if the "Follow Me" button is blue.

To interrupt "Follow Me" mode, simply pan or zoom.
While in "Follow Me" mode, tapping the "Follow Me" button a second time will then orient the map to be relative to the direction you are facing. This is signified by the "Follow Me" button being blue, and having a compass icon.

In this mode, an additional icon will appear directly below the "Follow Me" button. This will display the relative direction of North. To interrupt this mode, simply pan or zoom the map. To orient the map so that north faces up, simply tap the white compass icon.
The Bottom Menu
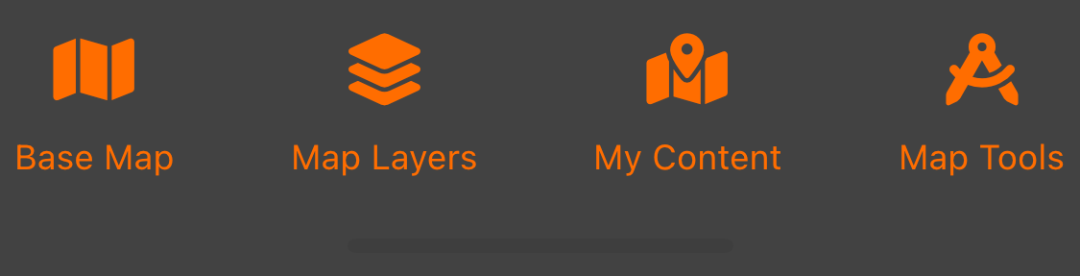
The bottom menu has four main features:
Base Map
Tapping this icon will bring up the Base Map Menu. The Base Map Menu is used to change the current base map, as well as switching Hunting Grounds into "Offline Mode", and Downloading base map segments for offline use.
Map Layers
Tapping this icon will bring up the Map Layers Menu. The Map Layers Menu is used to turn on or turn off the map layers available within Hunting Grounds (such as crown land hunting areas or game species distribution.
My Content
Tapping this icon will bring up the My Content Menu. The My Content Menu is used to manage all user-generated content within Hunting Grounds, such as
- Markers
- Shapes
- Activites
- Offline Maps
Map Tools
Tapping this icon will bring up the Map Tools pop-up Menu. The current map tools are:
- Add Marker (Centre)
- Add Marker (Lat Long)
- Add Marker (Here)
- Add Marker (Range)
- Activity Tracking
- Measure Distance
- Draw Line / Area
- Show HUD
We will be covering the base map in greater depth in future tutorials.